
| 일 | 월 | 화 | 수 | 목 | 금 | 토 |
|---|---|---|---|---|---|---|
| 1 | 2 | 3 | ||||
| 4 | 5 | 6 | 7 | 8 | 9 | 10 |
| 11 | 12 | 13 | 14 | 15 | 16 | 17 |
| 18 | 19 | 20 | 21 | 22 | 23 | 24 |
| 25 | 26 | 27 | 28 | 29 | 30 | 31 |
- Collection
- 피요모리2
- 피보나치
- 동적프로그래밍
- 형변환
- DynamicProgramming
- FirebaseAuth
- 코인거스름돈
- MFC
- math
- Kotlin
- devicedriver
- 제곱근
- AfxMessageBox
- 보늬밤
- LRU
- DataStructure
- synergy
- Dialog
- Java
- 리틀포레스트
- android
- memory
- stack
- Dokka
- 쌓기게임
- WebView
- QoS
- darkmode
- SPI
- Today
- Total
퉁탕퉁탕 만들어보자
Firebase로 로그인 연동하기 본문
1. Firebase 콘솔 설정
https://firebase.google.com/?hl=ko

프로젝트 추가를 누릅니다.
이름을 정하고 계속합니다.

홈에서 Android를 클릭합니다.
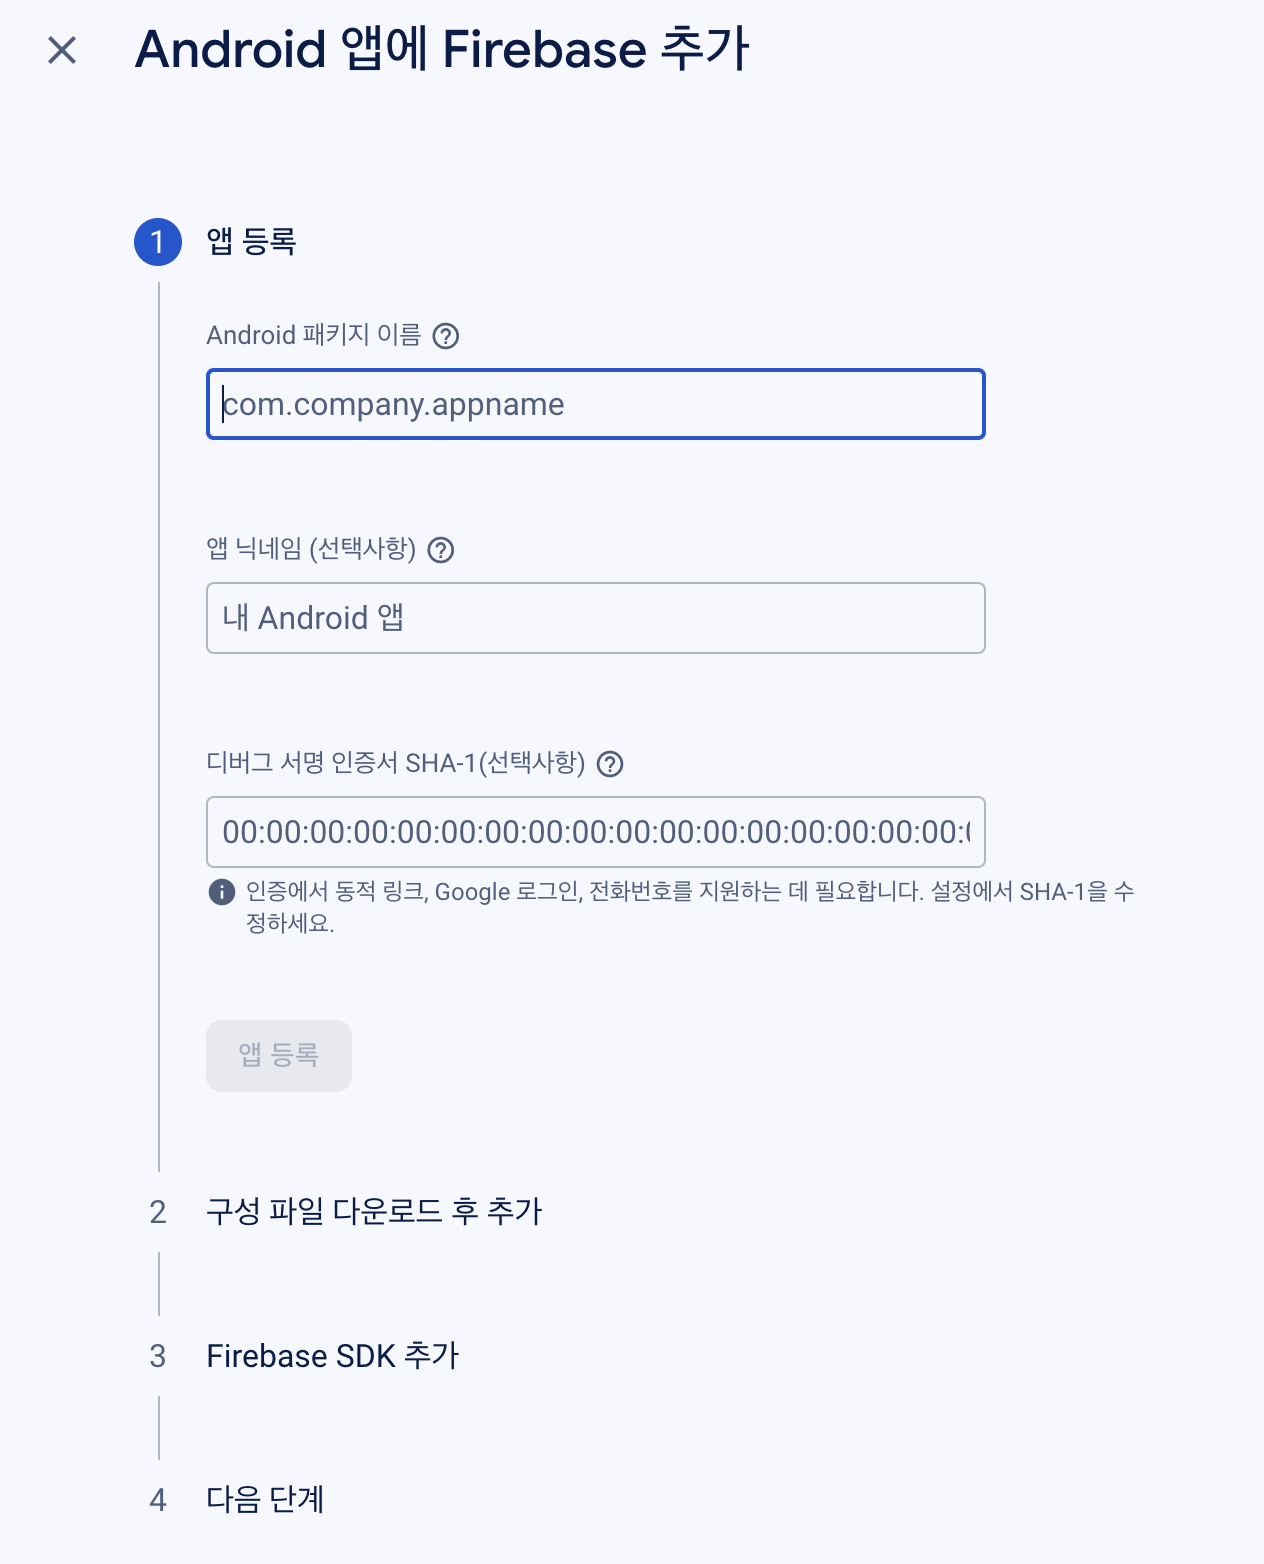
위저드에 따라 앱을 등록하고, gradle에 설정합니다.
(google-services.json은 아직 다운로드 하지 않습니다.)
1. root 수준의 build.gradle
plugins {
    alias(libs.plugins.androidApplication) apply false
    alias(libs.plugins.jetbrainsKotlinAndroid) apply false
    alias(libs.plugins.googleServices) apply false
}
2. libs.versions.toml
firebase는 bom으로 추가할 것이기 때문에 firebase-auth에는 version.ref는 선언하지 않아도 됩니다.
[versions]
..
firebaseBom = "33.1.1"
googleServices = "4.4.2"

[libraries]
...
firebase-bom = { module = "com.google.firebase:firebase-bom", version.ref = "firebaseBom" }
firebase-auth = { group = "com.google.firebase", name = "firebase-auth-ktx" }

[plugins]
...
googleServices = { id = "com.google.gms.google-services", version.ref = "googleServices" }
앱 주순의 build.gradle
plugins {
    alias(libs.plugins.androidApplication)
    alias(libs.plugins.jetbrainsKotlinAndroid)
    alias(libs.plugins.googleServices)
}
...
dependencies {
    implementation platform(libs.firebase.bom)
    implementation libs.firebase.auth
    ...
}
sync now 해두고 다시 Firebase 콘솔로 들어갑니다.
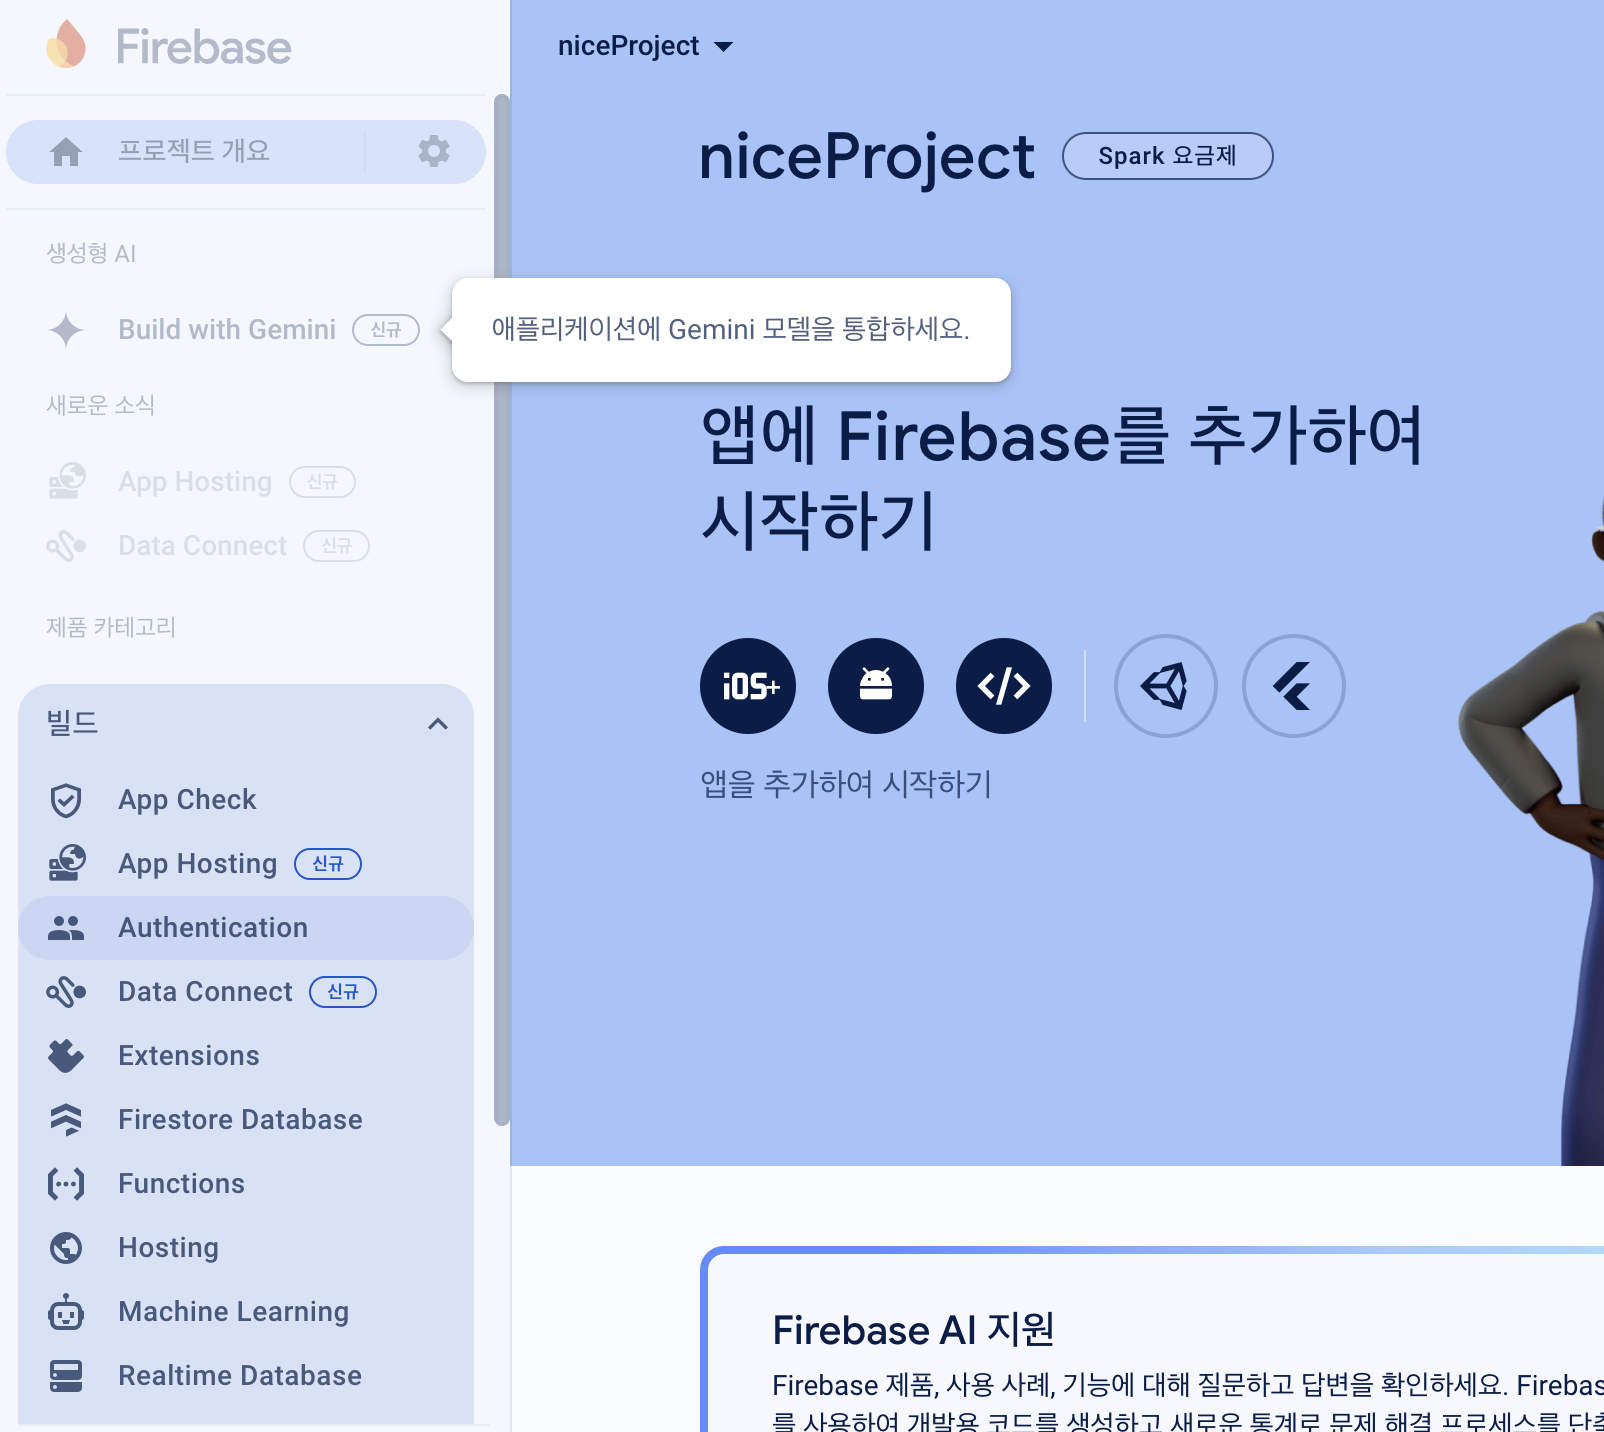
좌측 메뉴에 Authentication을 누릅니다.
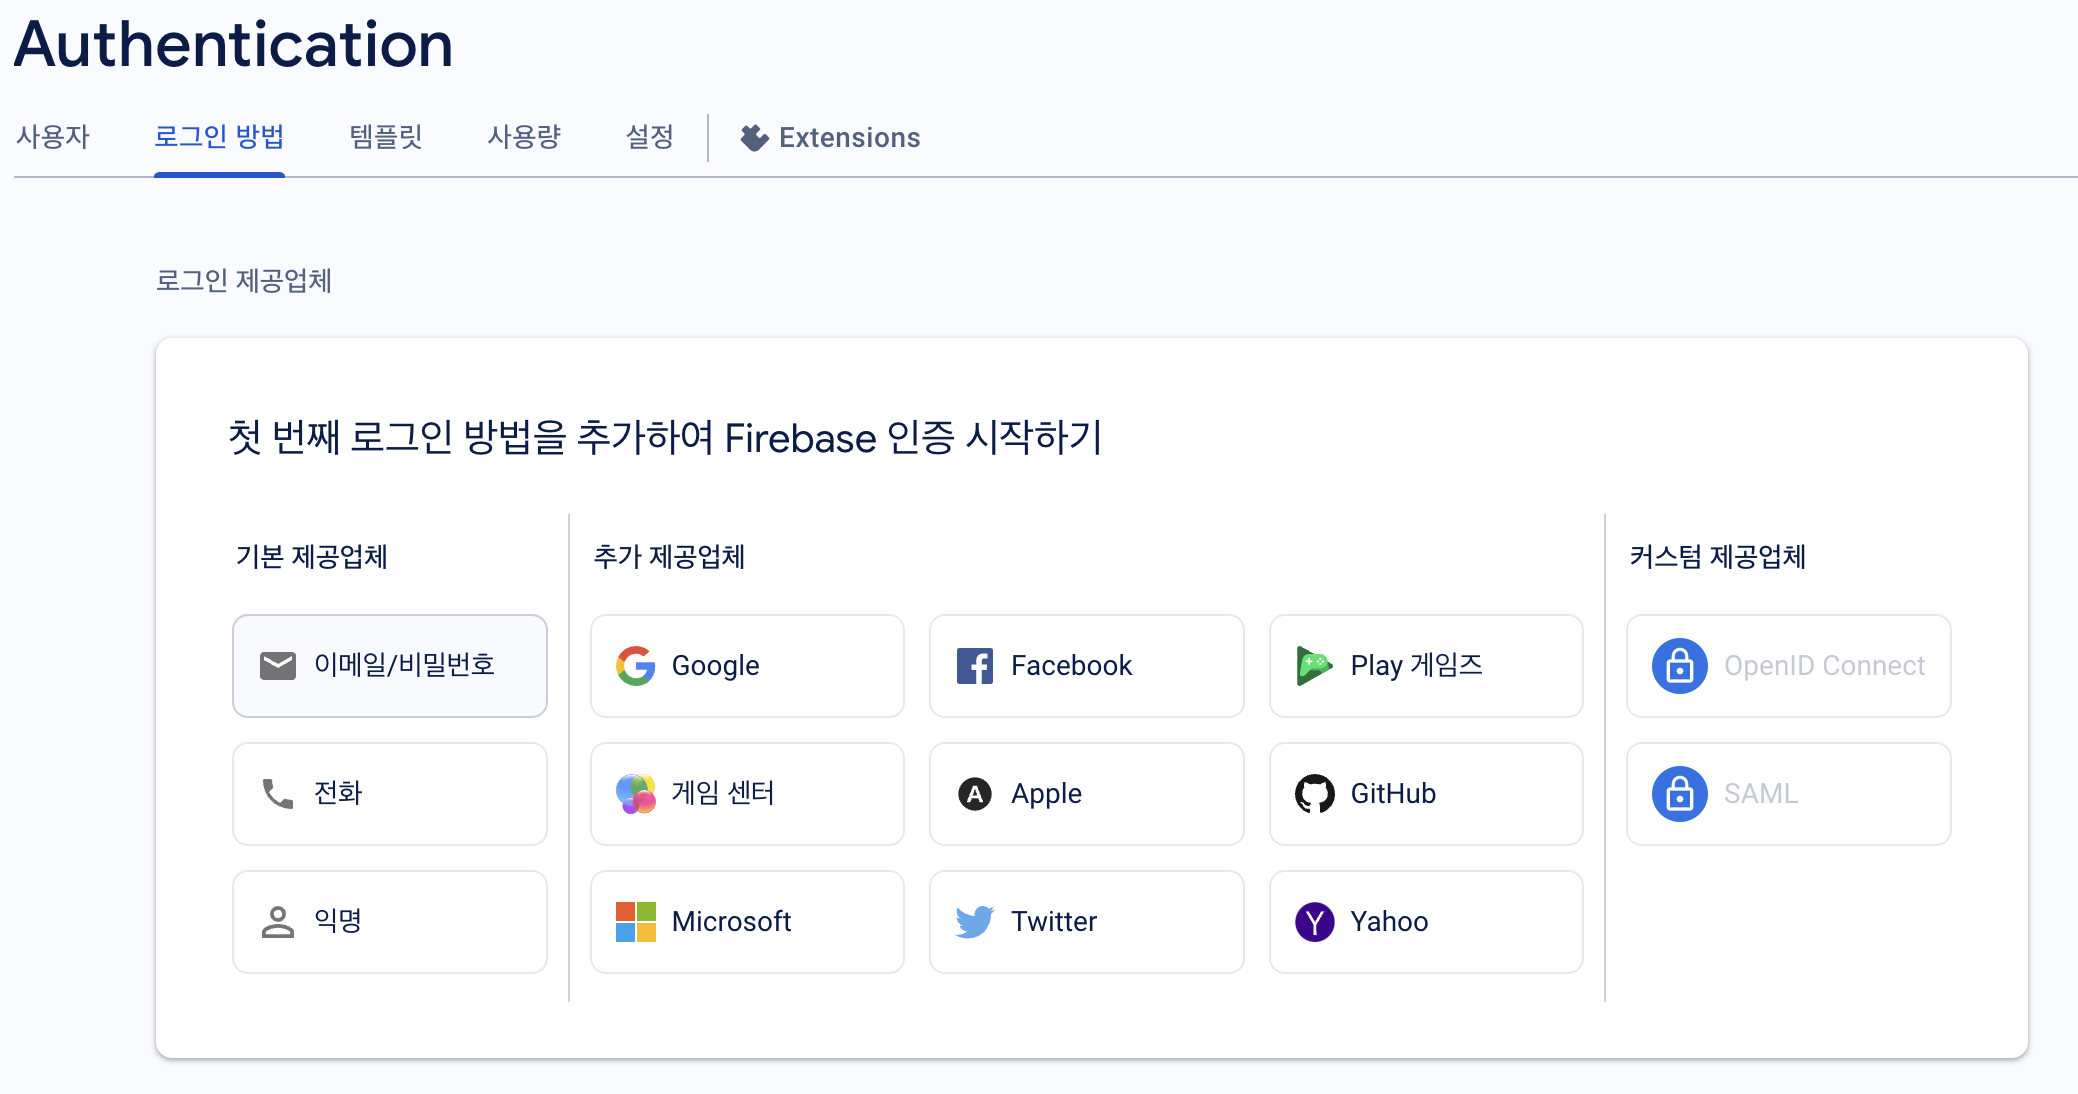
로그인 제공업체를 고를 수 있습니다.
심플하게 이메일/비밀번호를 선택하겠습니다.
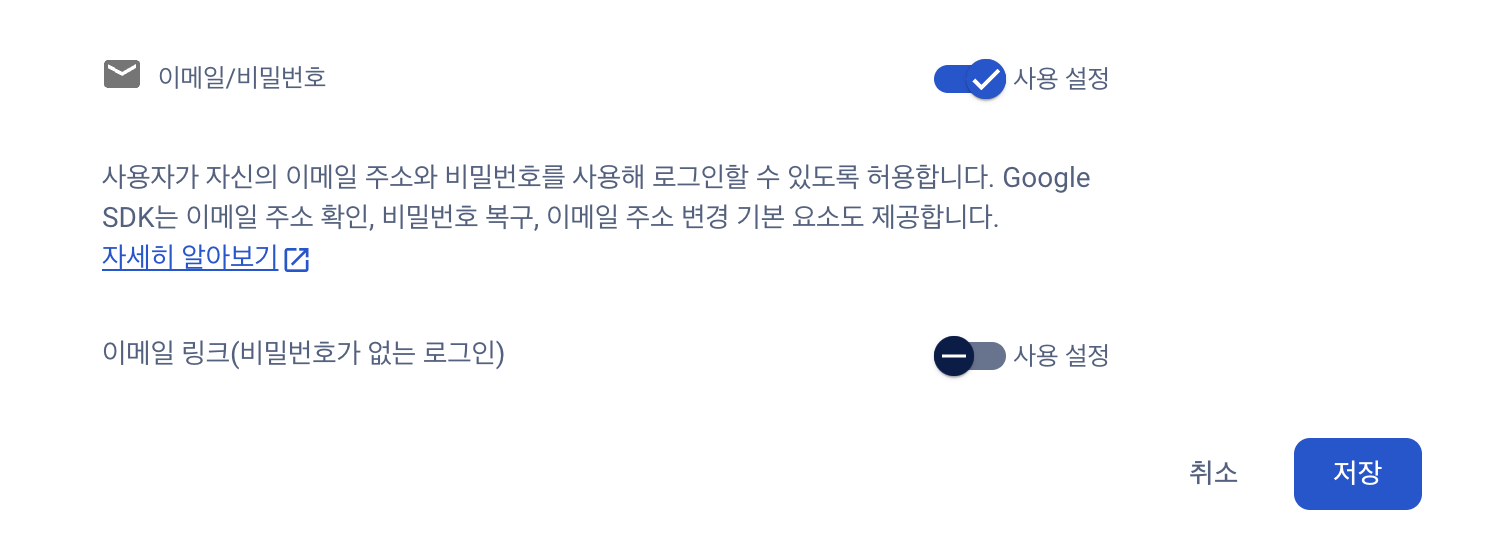
이메일/비밀번호 및 이메일 링크 둘다 제공되나, 간단한 구현을 위해 이메일/비밀번호를 선택합니다.
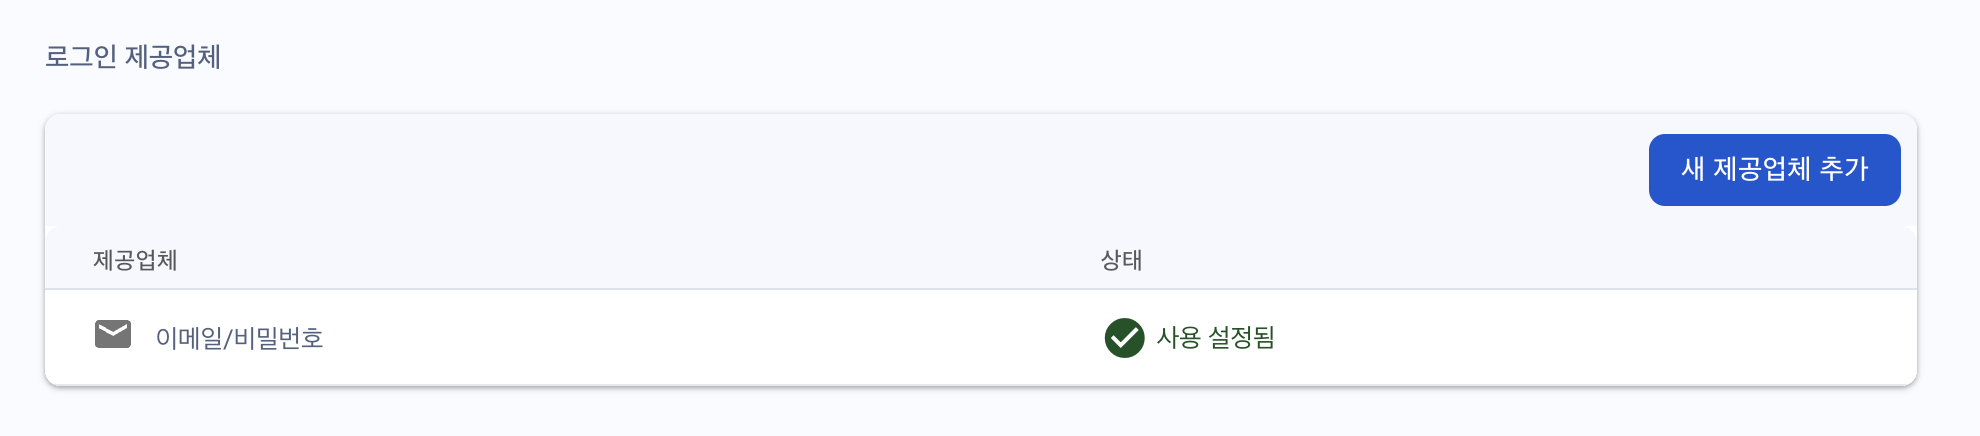
설정이 완료되었습니다.
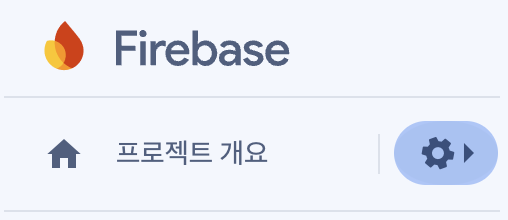
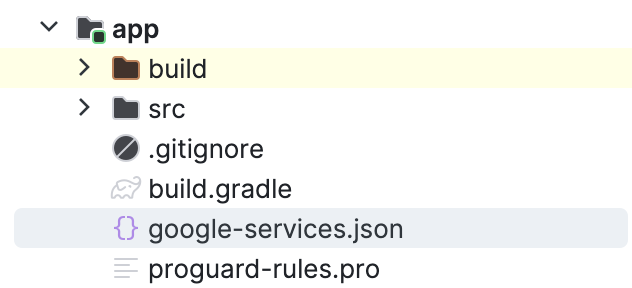
좌측 메뉴 > 톱니바퀴 > 내앱 > google-services.json 을 다운로드 하여
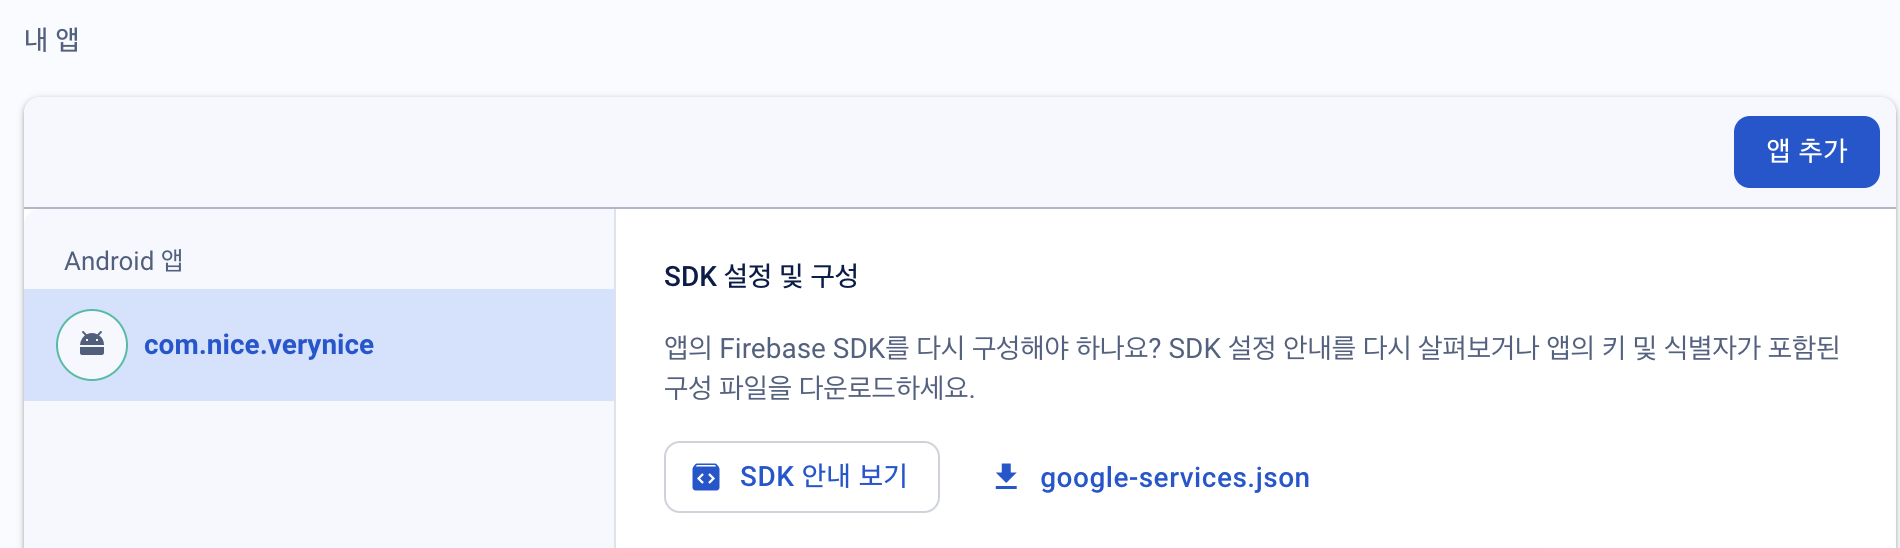
app/ 하위 폴더에 넣습니다.
이제 로그인을 할 Activity와 (LoginActivity.kt) 해당되는 xml파일인 layout_login.xml 을 생성합니다.
xml 파일에는
EditText 2개 (email, password)
Button 2개 (signUp, Login) 을 만듭니다.
<?xml version="1.0" encoding="utf-8"?>
<LinearLayout xmlns:android="http://schemas.android.com/apk/res/android"
    android:layout_width="match_parent"
    android:layout_height="match_parent"
    android:orientation="vertical"
    android:layout_margin="30dp">
    <EditText
        android:id="@+id/editTextEmail"
        android:layout_width="match_parent"
        android:layout_height="wrap_content"
        android:ems="10"
        android:inputType="textEmailAddress" />

    <EditText
        android:id="@+id/editTextPassword"
        android:layout_width="match_parent"
        android:layout_height="wrap_content"
        android:ems="10"
        android:inputType="textPassword" />

    <Button
        android:id="@+id/loginButton"
        android:layout_width="match_parent"
        android:layout_height="wrap_content"
        android:text="Login" />

    <Button
        android:id="@+id/signUpButton"
        android:layout_width="match_parent"
        android:layout_height="wrap_content"
        android:text="Sign up" />
</LinearLayout>
우선 FirebaseAuth 객체를 멤버변수로 선언하여 onCreate에서 가져옵니다.
class LoginActivity: AppCompatActivity() {
    private lateinit var auth: FirebaseAuth
    private lateinit var binding: ActivityLoginBinding

    override fun onCreate(savedInstanceState: Bundle?) {
        super.onCreate(savedInstanceState)
        setContentView(binding.root)

        auth = Firebase.auth
    }
그다음 회원 가입은 아래와 같이 진행합니다.
auth.createUserWithEmailAndPassword(email, password)
    .addOnCompleteListener {
        if (it.isSuccessful) {
            // 회원 가입 성공
        } else {
            // 회원 가입 실패
        }
    }
로그인은 이렇게 합니다.
auth.signInWithEmailAndPassword(email, password)
    .addOnCompleteListener {
        if (it.isSuccessful) {
            // 로그인 성공
        } else {
            // 로그인 실패
        }
    }
email, password는 editText에서 값을 가져와서 각각의 버튼의 setOnClickListener를 통해 회원가입과 로그인을 구현합니다.
MainActivity에서 로그인 되어있지 않은지 판별하는 방법은 FirebaseAuth.getInstance.currentUser가 null 인 경우입니다.
이 경우에 아까 만든 LoginActivity를 띄우면 됩니닷.
override fun onStart() {
    super.onStart()
    val auth: FirebaseAuth = FirebaseAuth.getInstance()
    if (auth.currentUser == null) {
        startActivity(Intent(this, LoginActivity::class.java))
    }
}
'Computer > Android' 카테고리의 다른 글
| Glide 로 imageView에 이미지 로드하기 (w/ version Catalogs) (0) | 2024.07.07 |
|---|---|
| Leak Canary Android 33 에서 Leak 발생 (0) | 2023.04.15 |
| Dagger2 가이드 번역(2) (0) | 2022.09.05 |
| Dagger2 가이드 번역(1) (0) | 2022.09.05 |
| Android checkstyle 적용하기 (0) | 2022.09.02 |
